How To Save And Ferment Tomato Seeds

How I Ferment and Dry Tomato Seeds
In this blog, we will explain step by step how we ferment and dry our tomato seeds. Let’s get started with picking and squeezing the tomatoes.
First Picking and Squeezing Tomatoes
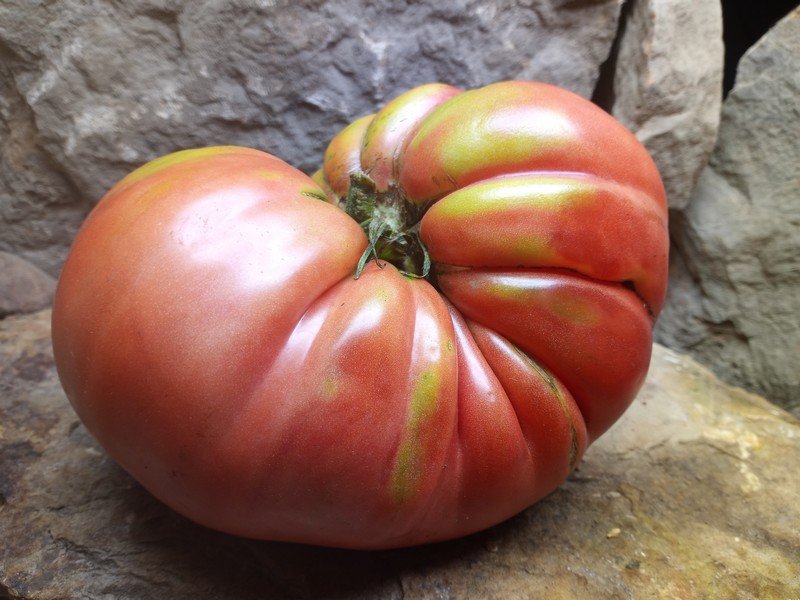
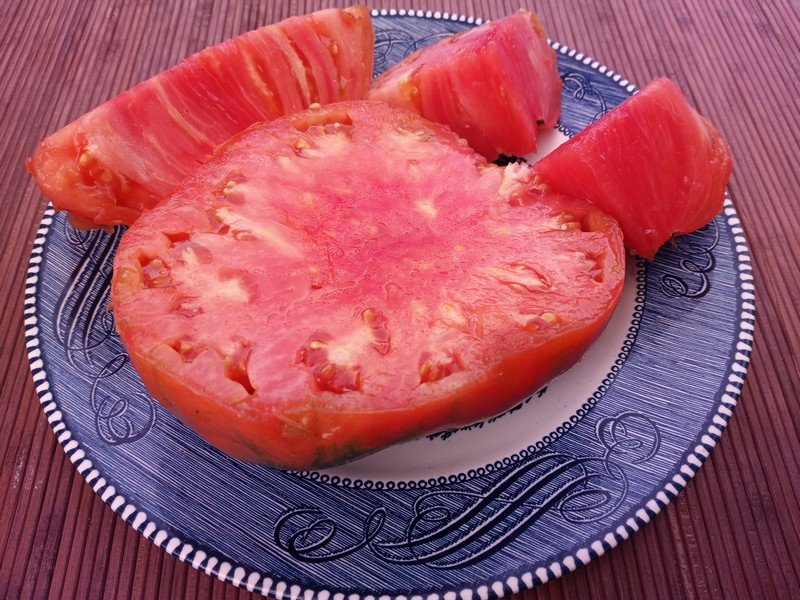
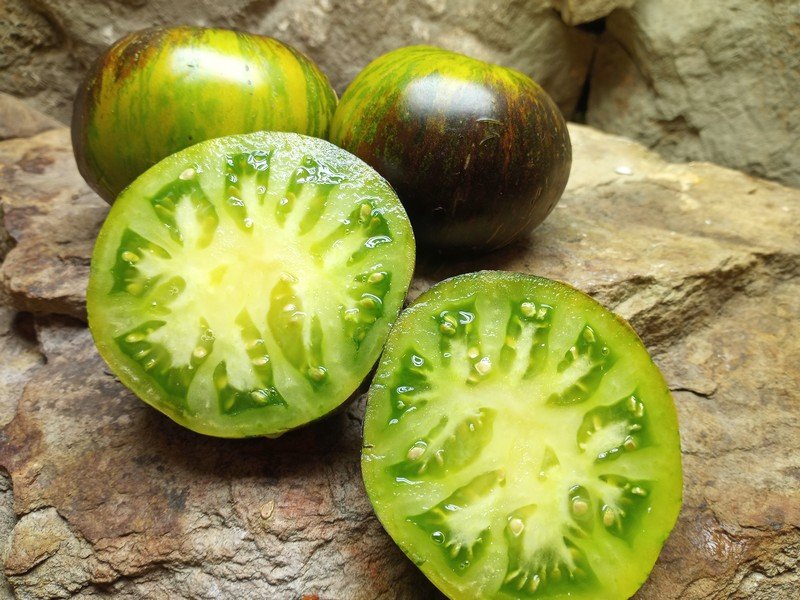
First we pick my tomatoes and have them tagged by the varieties along with the date they were picked and placed in plastic grocery bags. Next, we take the pictures we need of the varieties with and without the tags. After we do that, then we take that variety we took pictures of with the tag and the other tomatoes of that variety we did not use for pictures to what we call the squeezing station. Here is where my mom and son will cut the tomatoes open and squeeze the seeds out of the tomatoes into 32 oz (ca. 1,210 gram) cups. Some bigger varieties they will squeeze in a bigger bowl to pour it into 32 oz (ca. 1,210 gram) cup or cups, depending on how many pounds we picked of that variety. We also add a bit of water to these 32 oz (ca. 1,210 gram) cups to make the cups fuller, this will help out later after the fermenting process. Now we will dip the paper tag or tags with the name of the variety and stick it to the bottom of the cup and put them in the hot greenhouse.
The Fermenting Process
We place these cups on shelves in the greenhouse on shelves with the stuck tags under them and let them sit there for 3-5 days, mostly sometimes we went to 7 days. You can put a large mesh screen across all the cups to cut down on flies. But with in 24 to 48hrs, stir the containers up with a knife. Then be sure after you stir each container up to wipe off the knife, so you DO NOT get a stuck seed on the knife, and put it into another variety cup. Now, after the 3-5 days, we remove 1 cup (ca. 237 cubic centimeters) at a time and remove the tag from underneath and place it on a table. Then you are going to scoop off and out all the floating seeds with a small hand held strainer from that container and throw them out, those seeds are not good or viable. (The scooping step is where the extra bit of water helps to make it easier to scoop and not get the good seeds that sank.). Next you have a bigger hand held strainer that you pour the rest of the cup into which contain all the good sunken viable seeds. Then after the seeds are in the strainer I use my garden hose to rinse them off, it seems to be powerful enough to get off any extra stuff and gel and look nice and tanish brown.
Drying Tomato Seeds
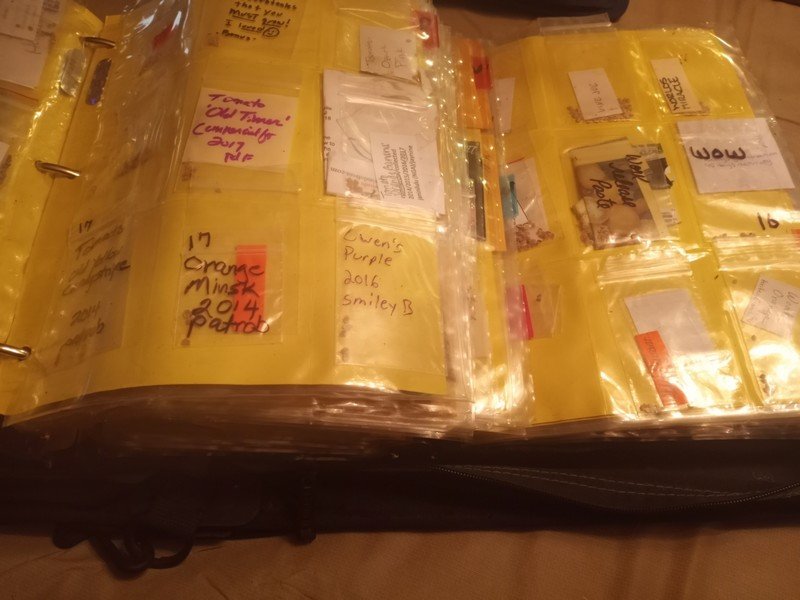
They are rinsed really well in the strainer, we take them over to the table where the tag is at. Here we have Styrofoam plates some people use coffee filters or screens which will help the seeds dry faster, we just prefer Styrofoam plates. We flip the larger hand held strainer with the rinsed seeds on to the plate. But making sure we get all the seeds out of the strainer. So we DO NOT get any of the varieties mixed by a seed we DID NOT get out of the strainer mixed in with our next variety we are going to do. Now we use a plastic fork and spread the seeds out on the plate to dry faster. When doing this step sometimes later in the season or if you go past 5 days in the fermenting process. You might find some sprout seeds, throw the sprouted ones out, they are no good. Now we put our tag in the leftover sprinkles of water on the plate, and it sticks on to the plate. We place the plate back into the greenhouse to dry for 2 days especially if it’s hot it takes 2 days, if it’s gloomy and cloudy it will take longer to dry. After they are completely dried, they will be tanish with white fuzz on them and are not moist or wet. We will now place put the seeds into my 2×3 bags along with the tag, so we know what variety it is and what date it was picked.
We hope this helps to show the process of how we save our tomato seeds. Also, you will be able to do the same process or find little tricks to help you save tomato seeds.


https://bountyhunterseeds.com/2021/11/23/how-i-organize-and-store-my-seeds/